
When you message your friends “pizza tonight?”, everyone pretty much has the same idea in mind, right? Well, we all have to remember that life isn’t always as easy as pizza…
Since we pitch ideas to clients everyday, we know that pizza is not always a piece of cake.
To visualize and sell your ideas to clients, and colleagues – whoever they may be – here are a few handy steps we at RCKT use on a daily basis:

STEP 1
First things first: Be hungry, go wild.
Once you get to the core of your idea, define the areas that will benefit from the visual support of a moodboard. Start research from what you know and once you have exhausted your own well of knowledge you can start digging the hell out of the Internet!

Look out for anything that resonates with your idea, and the way you picture it in your mind. It’s ok to over-do it here. There are many places where you can find stuff – from simple Google Images to wild screenshots and screen-grabs from YouTube, Facebook or Twitter. Let’s not forget Instagram, Pinterest, and Tumblr, too! If you can’t find what you’re looking for, you can always sketch it or grab a camera yourself!
What collector type are you?
We are all different and have different ways of working. When it comes to our team we can narrow it down to roughly two archetypes:
Maniac OCD-like collectors: they aim for perfection and tend to cluster everything neatly, collecting research into folders and subfolders.
Pros: they are pretty cool people to work with, since everything is easy to look through and discuss. This style is also useful for future research, as you don’t have to look through the same things over and over again.
Cons: It’s time-consuming.
The messy desktop lovers: Almost like working on an art project, it’s all about getting everything on the desktop – some people also use that as a sorting board before placing the material into a layout. The fun starts when the icons pile up in a second or third layer.
Pros: It’s quicker. Cons: It’s such a mess.
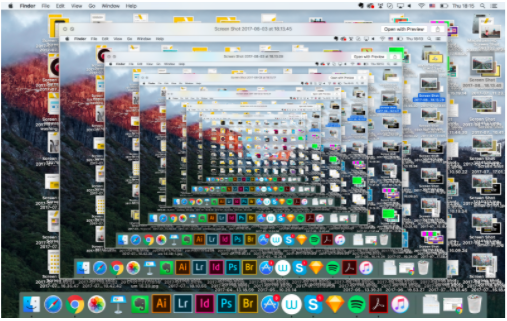
Laura’s desktop this month.
Either way: use the p.a.c.k.a.g.e. function! At the end of the process it takes a few seconds and you’ll love it next time you need to make a similar moodboard!

STEP 2
Let’s get it on…
You can edit the huge selection of images you collected in two ways. Some people prefer the traditional method of printing out all images before pinning them on a notice board. It takes more time and paper, but in a team environment it’s easier to handle. It’s extremely versatile and can be edited collaboratively in a physical space.
Here at RCKT, most of the time digital is the way. Either inDesign, Illustrator, Keynote, or Slides, with or without Bridge, we all start off from scratch, playing around on a newly created big white art-board, and importing the images into it 🙂
STEP 3
I like to edit, edit. You like to…EDIT!
It really is all about telling a story, so a good piece of advice is to set up the moodboard and tweak things, whilst always following the idea itself. At the end of the day, your moods are a direct visualisation of the initial idea, so they should be speaking the same language.

This is probably the most difficult part, but to make it easier you should always follow the “is this fitting in?”-rule, and the “does this add something or not?”-question. As with many things in life, keeping it simple is key: for the moodboard, simplicity rules.
Layout the images evenly in the art-board, or in clusters grouped by topic. You can also add keywords.
DONE! Now it’s time to sell it #aseasyaspizza
Now that that’s done, all you have to do is sell it :D. You now have some valid examples of your ideas, so you can make sure the person you are presenting them to at least knows what you mean by your choice in words. That’s not a guarantee that they’ll like it, though – unfortunately that’s something we can’t help you with.
Either way: Discussing ideas over pizza sure works wonders.

Author: Andrea Cadorin